
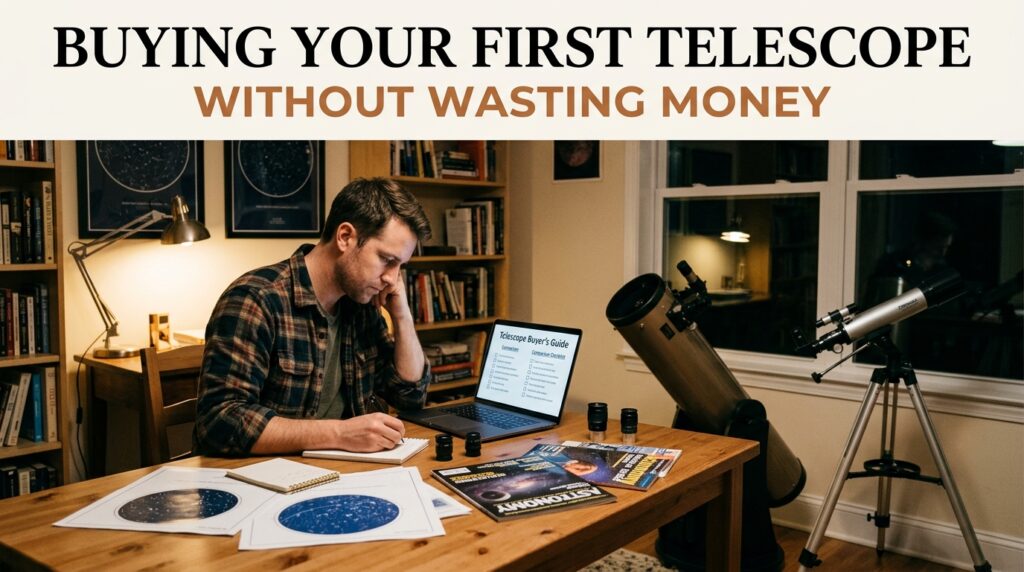

Nobody’s first telescope is chosen well. That is not an insult, it is just how the learning curve works. The result is predictable: a hard-to-use telescope that ends up abandoned in a corner.
It does not have to go that way. Buying a good first telescope is mostly about understanding three things: what the aperture actually does, why the mount matters more than you think, and what magnification really means.
The aperture truth nobody tells beginners
The aperture is the diameter of the main mirror or lens, and it is the single most important specification on the whole instrument. A bigger aperture collects more light, so faint galaxies that are invisible in a small scope glow clearly in a larger one, and it resolves finer detail, which is why Saturn’s rings look crisp in a 150mm scope and mushy in a 60mm one.
Here is the part the boxes do not emphasise: light-gathering grows with the square of the aperture. A 150mm telescope gathers roughly four times as much light as a 76mm one, not just a little more. That is an enormous difference in what you can actually see, and it is why experienced observers tell beginners to buy the biggest aperture they can afford and transport, rather than the one with the flashiest claims on the box.
That said, “biggest you can afford” has a practical limit. A telescope you cannot be bothered to carry outside is a telescope you will never use. The sweet spot is a 130mm or 150mm reflector on a simple mount: thrilling views, five-minute setup.
Mounts matter more than magnification
Here is the secret the telescope industry would rather you did not know: the mount is at least as important as the optics. A wobbly mount turns even excellent optics into a frustrating, shaky mess, because at high magnification every tiny vibration is amplified enormously. You touch the focuser, the image jiggles for five seconds, and the moment is gone.
Cheap telescopes almost always cut corners on the mount. That flimsy tripod will flex and shudder in the slightest breeze, and the cheap head will stick or slip as you track an object. This is the number one reason beginners give up. They assume the blurry, bouncing view is their fault, when it is actually the mount’s fault.
For a first telescope, a simple, sturdy alt-azimuth mount or a basic Dobsonian rocker box is ideal. They point intuitively, like aiming a camera, and they are rock solid. Avoid equatorial mounts as a beginner unless someone experienced is teaching you. They are powerful for astrophotography, but aligning one is a skill in itself and adds a whole layer of complexity to your first year of observing.
Eyepieces and the magnification myth
Now the magnification question, because this is where the marketing gets truly shameless. Magnification is simply the telescope’s focal length divided by the eyepiece’s focal length. A 900mm telescope with a 25mm eyepiece gives 36x; swap in a 10mm eyepiece and you get 90x. Any telescope can reach almost any magnification with a short enough eyepiece. The marketing number means nothing.
What matters is usable magnification, limited by aperture and atmosphere. A rough rule is that the maximum useful magnification is about twice the aperture in millimetres, and most nights the shimmering air limits you to far less. A guide to buying your first telescope will always steer you toward aperture and optical quality rather than the headline magnification number. Before you believe any claim on a box, run the numbers yourself with a telescope magnification calculator and see what the instrument can genuinely deliver.
Most observing is done at low to medium magnifications anyway. The Moon is spectacular at 50x, Jupiter’s cloud belts and four moons are glorious at 100x, and deep-sky objects like galaxies actually look better at low power, because spreading their faint light over a larger image just makes them dimmer.
Five mistakes first-time buyers make
First, buying on magnification. If the box leads with a huge magnification number, that is a warning sign, not a selling point. Second, ignoring the mount. A solid mount with modest optics beats superb optics on a wobbly tripod every time. Third, skipping binoculars. A decent pair of 10x50s shows you the Moon’s craters, Jupiter’s moons, and dozens of star clusters for a fraction of a telescope price.
Fourth, buying too much telescope. A giant scope that takes forty minutes to set up will live in the garage, while a smaller one that takes five minutes gets used fifty nights a year. Fifth, buying in a rush before doing any reading. An hour with in-depth telescope articles will save you from every trap on this list, because you will understand aperture, mounts, and eyepieces before a single pound leaves your wallet.
A sensible first setup that will not gather dust
So what should you actually buy? For most beginners, the answer is one of two things. A 130mm or 150mm Newtonian reflector on a Dobsonian mount is the classic recommendation: maximum aperture per pound, dead simple to use, and genuinely capable of showing you Saturn’s rings, Jupiter’s bands, the Orion Nebula, and hundreds of deep-sky objects. The alternative is a good pair of 10×50 binoculars plus a star chart, the cheapest route into the hobby, which teaches you the sky faster than any telescope.
Whichever you choose, pair it with knowledge. Learn the constellations with your naked eyes first, and use free tools to understand your equipment before buying more of it. A beginner-friendly astronomy resource that covers the theory alongside the tools will take you further than any single purchase. The real investment is the hour you spend learning how to use it, and that part is free.
